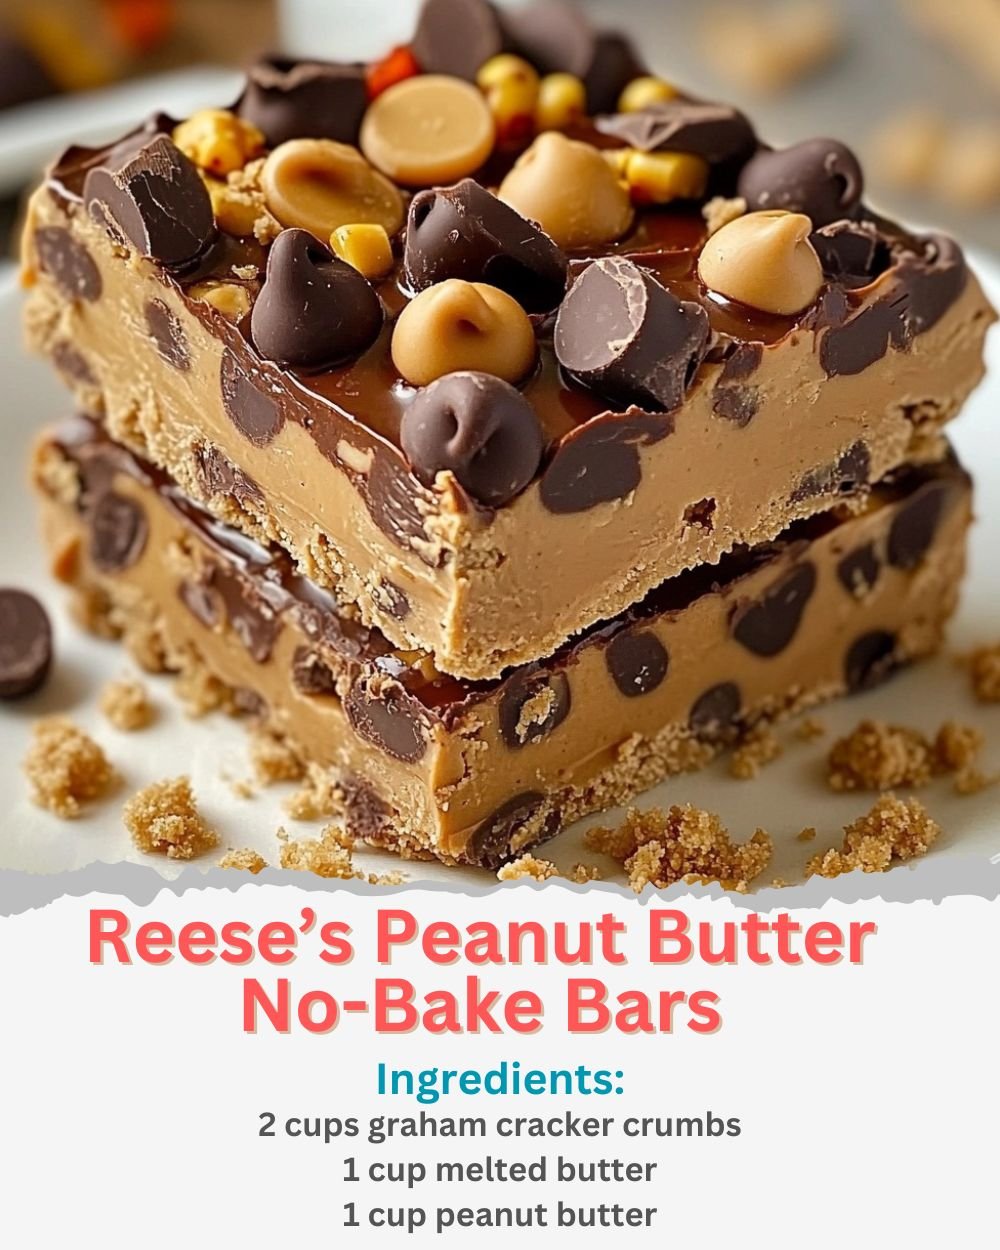

# Reese’s Peanut Butter No-Bake Bars: A Decadent and Easy Treat
If you’re a fan of the classic combination of peanut butter and chocolate, these **Reese’s Peanut Butter No-Bake Bars** are a must-try. With a rich peanut butter base, a layer of creamy chocolate, and a sprinkle of Reese’s Pieces and peanut butter cups, these bars are indulgent, easy to make, and perfect for satisfying your sweet tooth. Whether you’re making them for a party, a gift, or just because, they’re sure to impress everyone who tries them.
In this article, we’ll walk you through the recipe, share tips for success, explore creative variations, and provide serving and storage suggestions. Let’s get started!
—
## **The Recipe: Reese’s Peanut Butter No-Bake Bars**
### **Ingredients**
– 2 cups graham cracker crumbs
– 1 cup melted butter
– 1 cup peanut butter
– 2 ½ cups powdered sugar
– 1 teaspoon vanilla extract
– 1 cup mini chocolate chips
– 2 cups semi-sweet chocolate chips (for topping)
– ½ cup peanut butter (for topping)
– ½ cup chopped peanut butter cups (for garnish)
– ¼ cup Reese’s Pieces or chocolate chips (for garnish)
—
### **Directions**
1. **Prepare the Base:** In a large bowl, mix the graham cracker crumbs, melted butter, peanut butter, powdered sugar, and vanilla extract until smooth.
2. **Add Chocolate Chips:** Fold in the mini chocolate chips, then press the mixture evenly into a greased 9×13-inch pan.
3. **Make the Topping:** In a microwave-safe bowl, melt the semi-sweet chocolate chips with ½ cup peanut butter, stirring until smooth.
4. **Assemble the Bars:** Pour the melted chocolate mixture over the peanut butter layer and spread evenly.
5. **Add Garnishes:** Sprinkle the chopped peanut butter cups and Reese’s Pieces on top.
6. **Chill:** Refrigerate the bars for at least 2 hours, or until firm.
7. **Slice and Serve:** Cut into bars and enjoy!
—
## **Why This Recipe Works**
These no-bake bars are a perfect combination of flavors and textures. Here’s what makes them so special:
1. **Peanut Butter Base:** The combination of graham cracker crumbs, peanut butter, and powdered sugar creates a rich and creamy base.
2. **Chocolate Topping:** The melted chocolate and peanut butter topping adds a smooth, decadent layer.
3. **Reese’s Garnishes:** Chopped peanut butter cups and Reese’s Pieces add extra peanut butter and chocolate flavor, as well as a fun crunch.
4. **No-Bake:** This recipe requires no oven, making it quick and easy to prepare.
—
## **Tips for Perfect No-Bake Bars**
To ensure your bars turn out perfectly every time, follow these tips:
1. **Use Room Temperature Ingredients:** Softened butter and peanut butter mix more easily, creating a smoother base.
2. **Press Firmly:** Press the peanut butter mixture firmly into the pan to ensure it holds together when sliced.
3. **Melt Chocolate Carefully:** Melt the chocolate chips and peanut butter in short intervals, stirring frequently to prevent burning.
4. **Chill Thoroughly:** Let the bars chill for at least 2 hours to ensure they set properly.
5. **Let Sit Before Slicing:** Allow the bars to sit at room temperature for a few minutes before slicing for cleaner cuts.
—
## **Creative Variations**
These bars are highly customizable. Here are some fun ways to switch things up:
1. **Add Crunch:** Mix in crushed pretzels, chopped nuts, or rice cereal for extra texture.
2. **Different Chocolate:** Use milk chocolate, dark chocolate, or white chocolate chips for the topping.
3. **Gluten-Free Option:** Use gluten-free graham crackers or cookies for the base.
4. **Different Garnishes:** Top with M&M’s, crushed Oreos, or a drizzle of caramel sauce.
5. **Layered Bars:** Add a layer of caramel or marshmallow fluff between the peanut butter base and chocolate topping.
—
## **Serving and Presentation Ideas**
These bars are as beautiful as they are delicious. Here are some creative ways to serve and present them:
1. **Dessert Platter:** Arrange the bars on a platter with fresh fruit, cookies, or other sweet treats.
2. **Gift Boxes:** Package the bars in a decorative box or tin for a thoughtful homemade gift.
3. **Party Favors:** Wrap individual bars in parchment paper or cellophane and tie with ribbon for party favors.
4. **Pair with a Beverage:** Serve the bars with a glass of milk, coffee, or a peanut butter milkshake for the ultimate treat.
5. **Holiday Display:** Use seasonal garnishes or decorations to match the occasion (e.g., red and green for Christmas).
—
## **Storage and Freezing Tips**
– **Refrigerator:** Store the bars in an airtight container in the fridge for up to 1 week.
– **Freezer:** Place the bars in a single layer on a baking sheet and freeze until solid. Transfer to a freezer-safe bag or container and freeze for up to 2 months. Thaw in the fridge before serving.
—
## **Why You’ll Love This Recipe**
– **Quick and Easy:** With just 15 minutes of prep time, this recipe is perfect for busy bakers.
– **No-Bake:** No oven required—just a fridge!
– **Decadent and Indulgent:** The combination of peanut butter and chocolate is a classic crowd-pleaser.
– **Customizable:** You can easily adapt the recipe to suit your taste preferences or the theme of your event.
—
## **Final Thoughts**
Reese’s Peanut Butter No-Bake Bars are a rich, indulgent, and easy-to-make treat that’s sure to bring joy to everyone who tries them. Whether you’re making them for a special occasion or just because, they’re a delightful way to enjoy the classic flavors of peanut butter and chocolate. Plus, with so many ways to customize the recipe, you can make it your own.
So, grab your ingredients, prep your pan, and get ready to create a batch of these irresistible bars. Happy baking! 🥜🍫✨